Action Icons
Throughout Practice Management information can be Create, Retrieve, Update and Delete Records information. Before exploring how these functions work throughout the application, understanding how the Action Icons work within a form is essential.
Action icons invoke an action when clicked.
When opening a form, icons are seen at the bottom of the window. This is called the Main Form Toolbar. The icons in the Main Form Toolbar effect the entire form.
Some forms have sections where multiple records can be added, like addresses. In this case, there will be a Sub Form Toolbar which allows adding and deleting of sub-records (e.g. addresses) without effecting other parts of the form. The Sub Form Toolbar will appear within the form, above the Main Form Toolbar. Action icons here only affect that section.
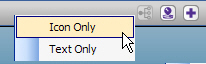
Choose to view the toolbars as "Icon Only", "Text Only", or "Both". This is explained at the end of the page in Icon Views.
Main Form Toolbar
The following action icons are available at different times in the Main Form Toolbar:
 Retrieve: find an existing record
 New: create / add a new record
 Cancel: reset form to it's previous state / cancel New
 Save: commit new records and changes to the database
 Delete: erase a record
The form pictured below was just opened and has the Main Form Toolbar outlined in red:
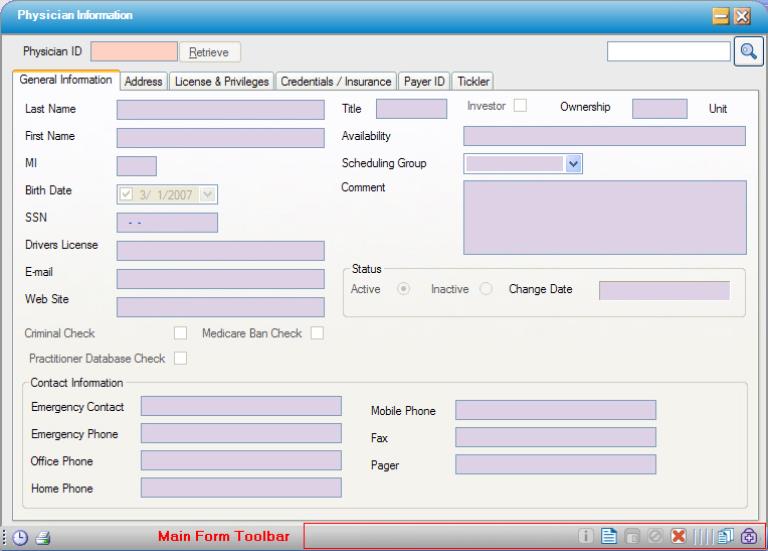
The first icon is Retrieve. This icon becomes active when typing in a field followed by the  button, as in the Physician ID field above. Choose to click either the Retrieve icon or the button to find an existing record, or press <enter> on the keyboard after entering an ID.
The first active icon, when the form opens, is the New action icon.
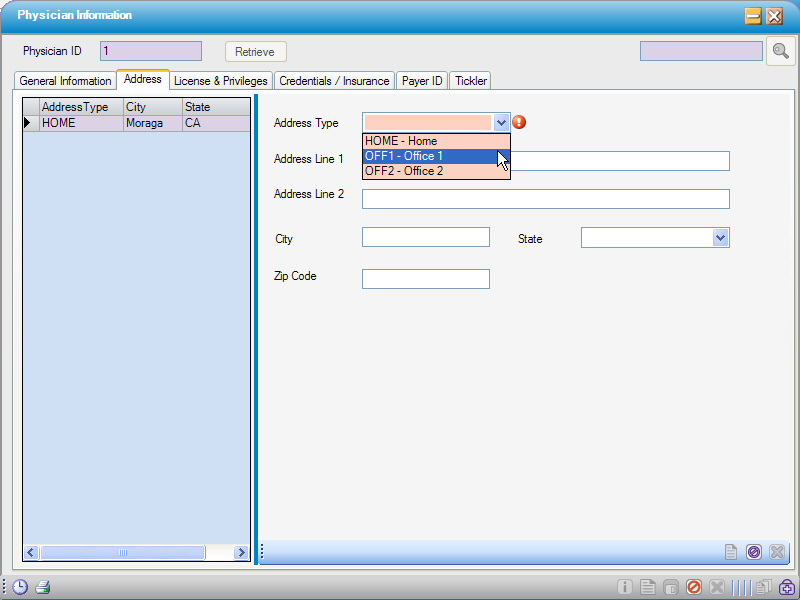
Clicking New enables data entry for the entire form, which includes all the tabs (shown below).
NOTE:: Anytime this symbol  , is visible, it indicates a required field or and error. Hover the mouse cursor over it and it will indicate what needs to be done.

Now, the active icon is the Cancel action icon (shown above).
Clicking Cancel cancels, or erases, any unsaved information from the entire form, which includes all the tabs.
Once data entry begins, the Save action icon becomes available once all the required fields have data entered (shown below).
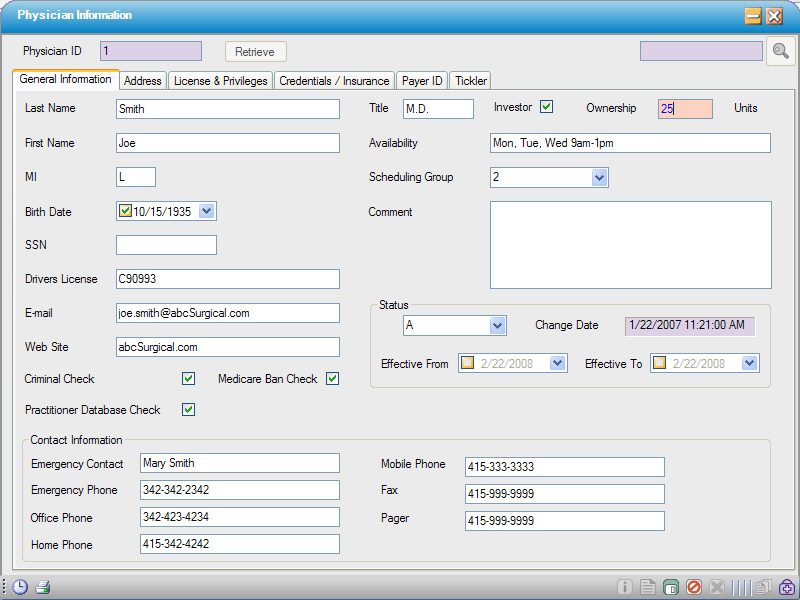
Clicking Save saves all information that has been entered in the entire form, which includes all tabs.
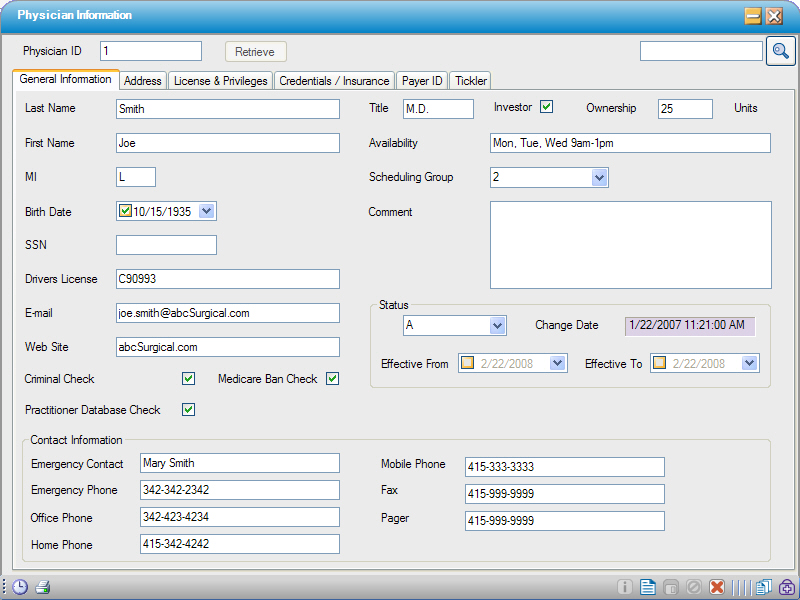
The Delete action icon is available when viewing saved information (shown below).
Clicking Delete will delete ALL information from the entire from, which includes all tabs.
NOTE:: Once a record is associated elsewhere in the system, it cannot be deleted. Instead, change the status to inactive.
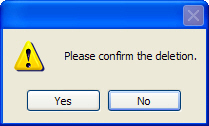
A prompt to confirm the deletion will be presented. Click Yes to complete the deletion action.
Sub Form Toolbar
The following icons are available at different times in the Sub Form Toolbar:
The form pictured below has the Sub Form Toolbar outlined in red:
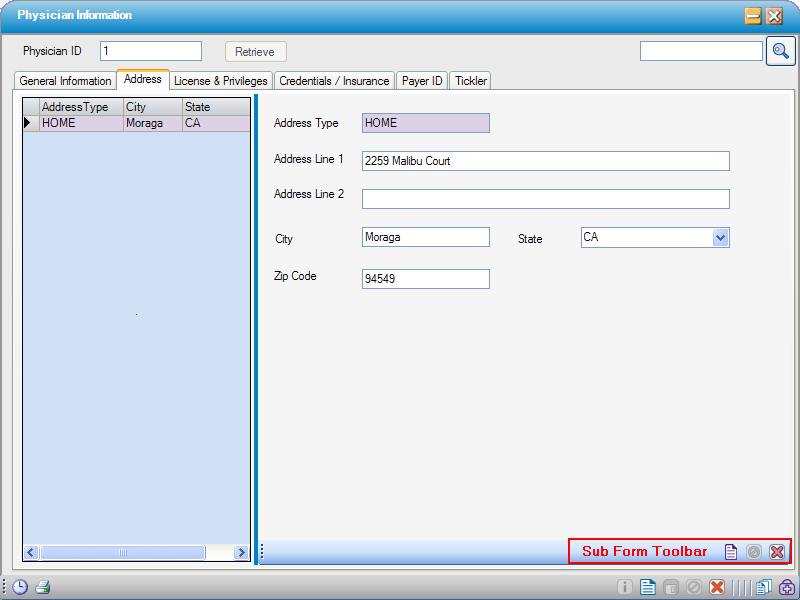
The left action icon is the  New sub-record icon. Clicking this will allow entering another sub-record, in this example, an address.
The right action icon is the  Delete sub-record. Clicking this will delete the record displayed. If there are multiple records to delete, clicking the delete icon multiple times is required. Deleting a sub-record completes when Save is clicked.
Once New sub-record is clicked, the active icon is the  Cancel sub-record icon (shown below). Clicking this will cancel, or erase, any information entered in the sub-record.
Icon views
There are 2 different icon views:
Icon Only
Text Only
To change the icon view, right-click on each toolbar and select the desired view. This selection will be saved and applied to each form.